How to burn MKV files to DVD
MKV is an advanced container format mainly for HD videos and starts to take a greater share in the video territory. Many streaming videos or downloaded movies come with .mkv extensions. If you would like to play the videos on regular DVD players, or preserve them better, burning MKV to DVD is an optimal selection.
Converting MKV files to DVD player compatible format, 4Media DVD Creator is highly recommended. With it, you can burn virtually all popular formats to DVD without any change in quality. What's more, it allows you to create and edit DVD menu, add and customize title and audio track, and apply special effects and watermark. Really a handy MKV to DVD creator. Let's see how to convert and burn MKV files to DVD using 4Media DVD Creator.
Firstly, download and install the software
Free Download 4Media DVD Creator
Launch the MKV to DVD creator and here we go.
How to convert and burn MKV files to a DVD disc?
Step 1: Add the MKV file
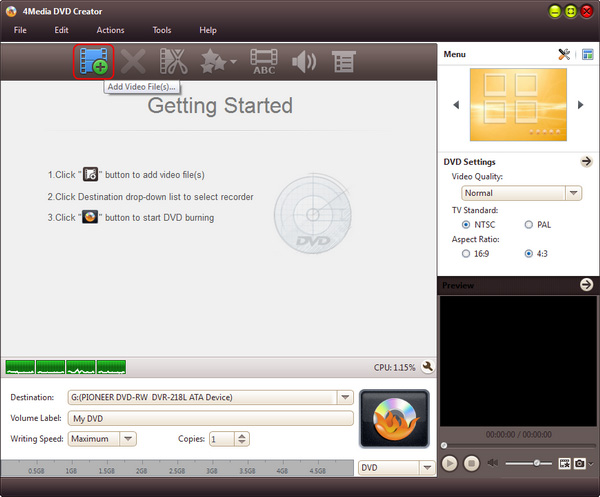
Click "Add Video File(s)" button on the toolbar and load the MKV files. If you have several videos to convert, you can add them all at the same time.

Step 2: Adjust output settings
As the first picture shows, you can adjust the output settings yourself.
- Destination: Insert a recordable disc, and choose the disc you insert from the "Destination" drop-down list. Or choose "Save as DVD Folder" or "Save as Image (.iso)" option to back up your video files onto your hard disk as DVD folder or ISO image.
- DVD Name: Enter a name in the textbox as the DVD name.
- Writing Speed: According to your CPU configuration, choose an appropriate speed from the drop-down list.
- Copies: Click the up and down arrows to set the number of copies you want to burn. If you set it to more than 1, the program will prompt you to insert a new recordable disc after burning a copy.
Step 3: Create and edit DVD menu
Choose one menu template: Click "Templates" button on the menu panel, "Menu Templates" window pops up. Choose your favorite template from this window to create a menu instantly.
To further edit the menu, just click "Edit" button and in "Menu Edit" window you can change another template, add background music/picture, and specify title and opening film to the menu.
Step 4: Add and edit DVD subtitle/audio track
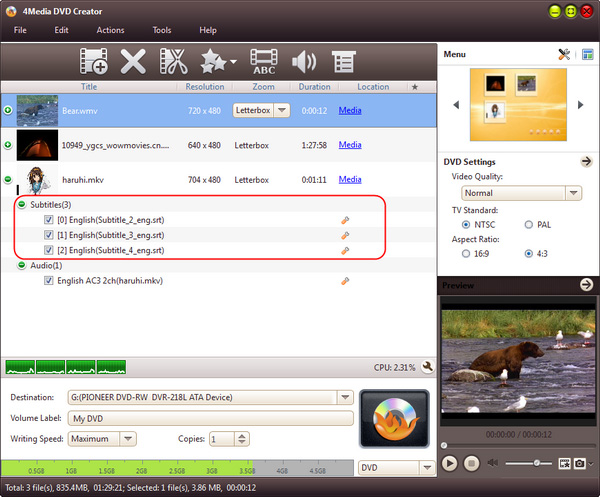
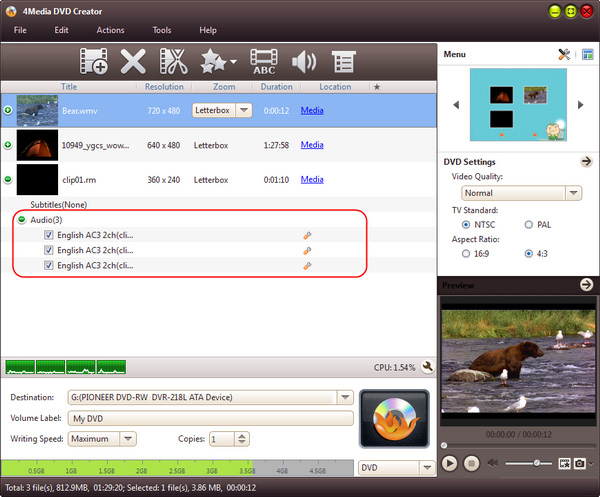
After loading the video file, the MKV to DVD burner will display its subtitle item and audio track item under the file node in the file list.
Click the yellow "Settings" button, you can edit the existed subtitle; and to add a new subtitle, just click the red "Add" button.

And it's all the same with the Audio Track settings and adding.

Step5: Start the MKV to DVD burning
Click the big "Burn" button at the right bottom to start burning MKV to DVD.


